

This tutorial will show you how to add subtitiles to Kodi version 17 and above by using using opensubtitles.org. Follow these instructions below.
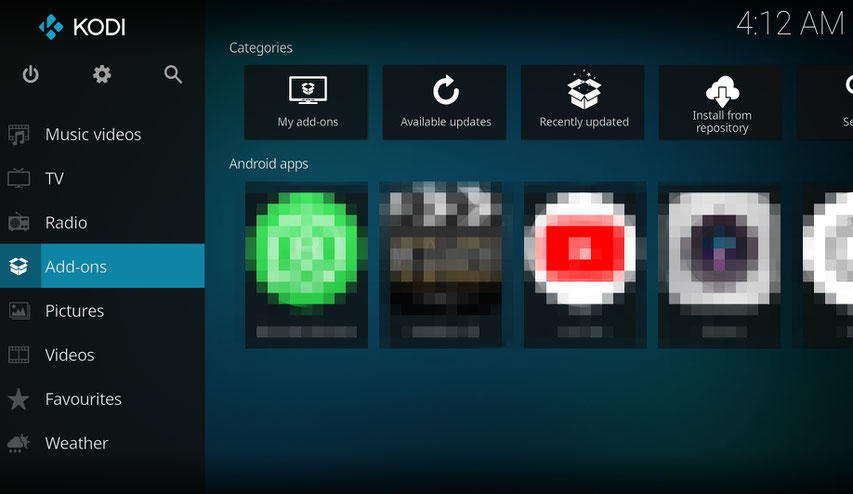
1. After you launch the Kodi app, select ‘Add-ons’ from the left-hand menu.
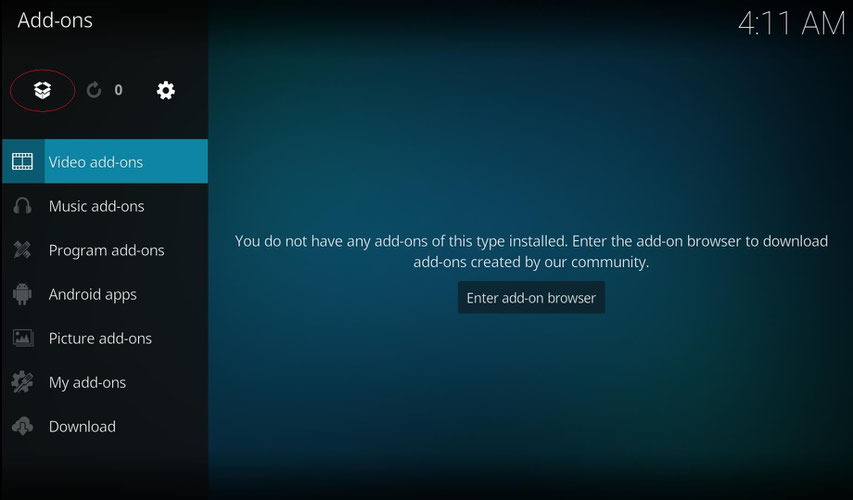
2. click on the ‘Package Installer’ icon in the top-left corner.
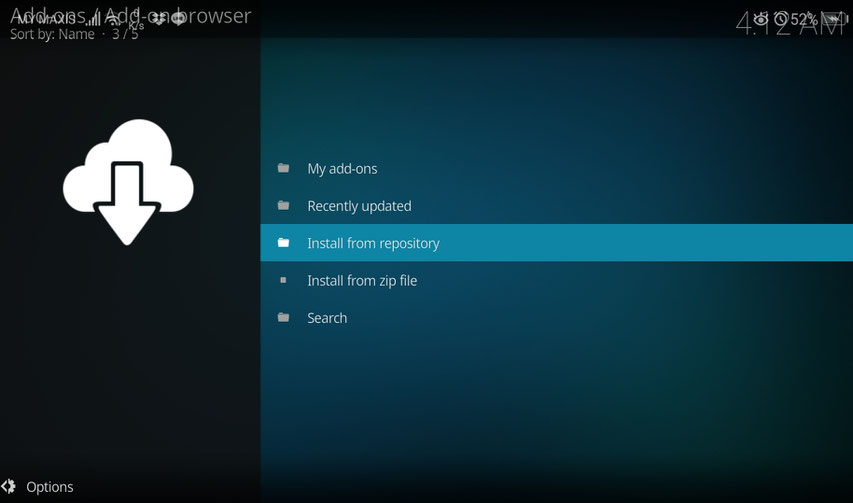
3. From here, select ‘Install from Repository’.

Next choose the Kodi addon repository. Select ‘Subtitles’.
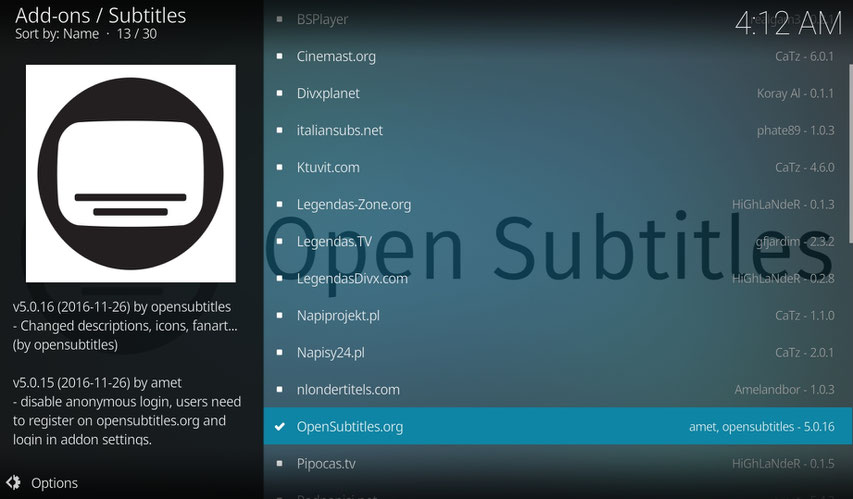
Choose ‘OpenSubtitles.org’ from the list.
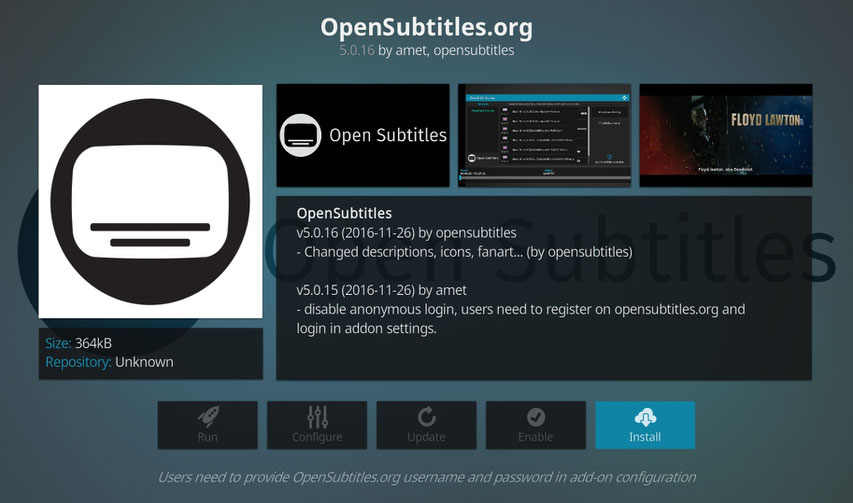
Now click on ‘Install’. Wait for the ‘Addon Installed’ notification.
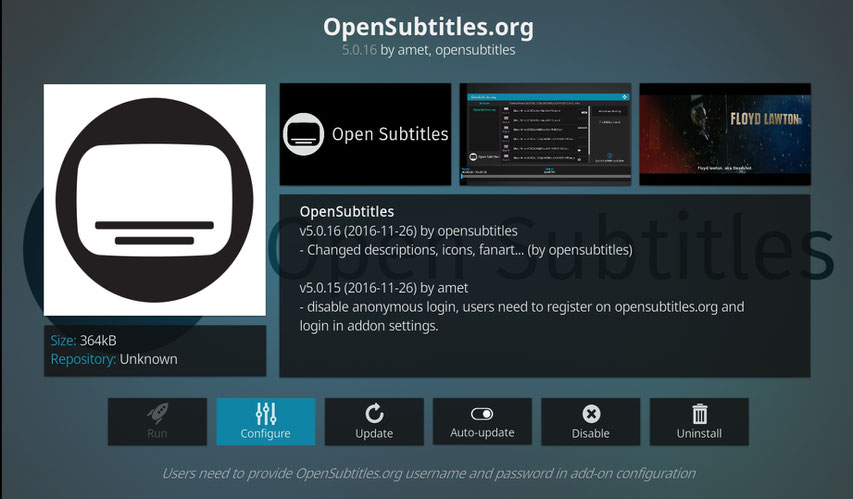
Select 'Configure' after installation completed.
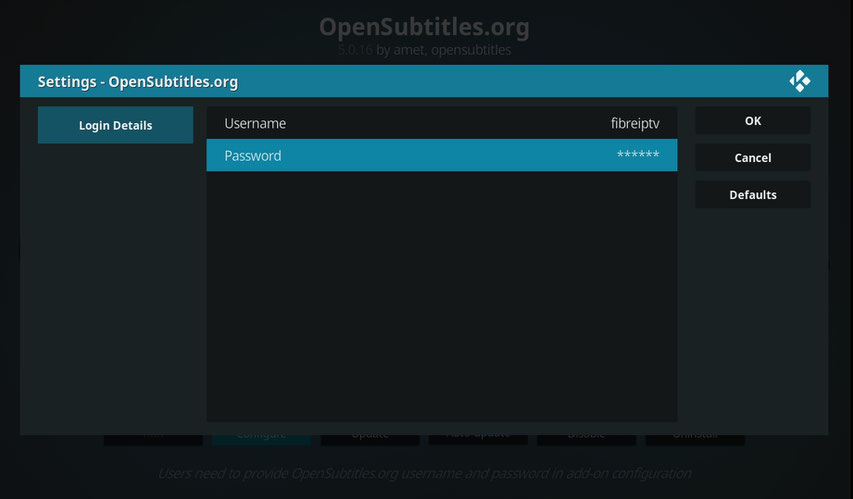
Make sure you head over to https://www.opensubtitles.org/en/search/subs and register for a free account first. Otherwise, you may use our account to login.
Username: fibreiptv
Password: 111111
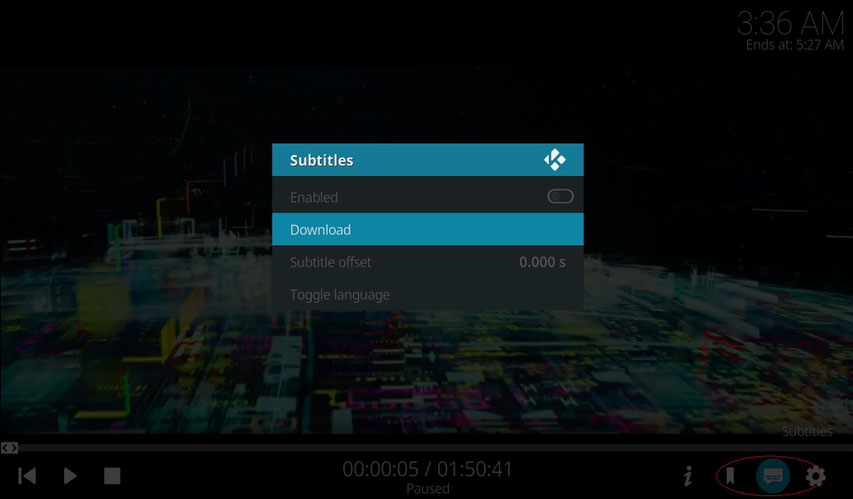
Select any movies you would like to watch and click on the 'subtitles' icon at the bottom right.
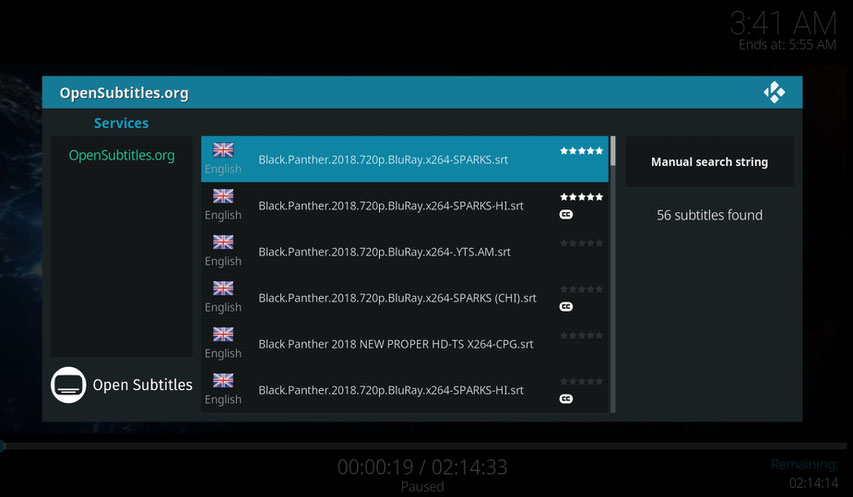
Manually search the movie title to select your preferred subtitles language.

Congrats. You have successfully install subtitles on Kodi!

IF YOU HAVE ANY QUESTIONS OR CONCERNS, PLEASE CONTACT:
Email: info@fibreiptv.com
Official Website: http://fibreiptv.com/
Contact number: 011-12696033
WeChat: fibreiptv
